
- remove_red_eye 97
- favorite 0
Iron-on beads – a creative hobby for children and adults.
- today
- perm_identity Agnieszka Dąbrowska
- label Our Inspiration
- description You will read in 7 mins.
Iron-on beads – a creative hobby for children and adults
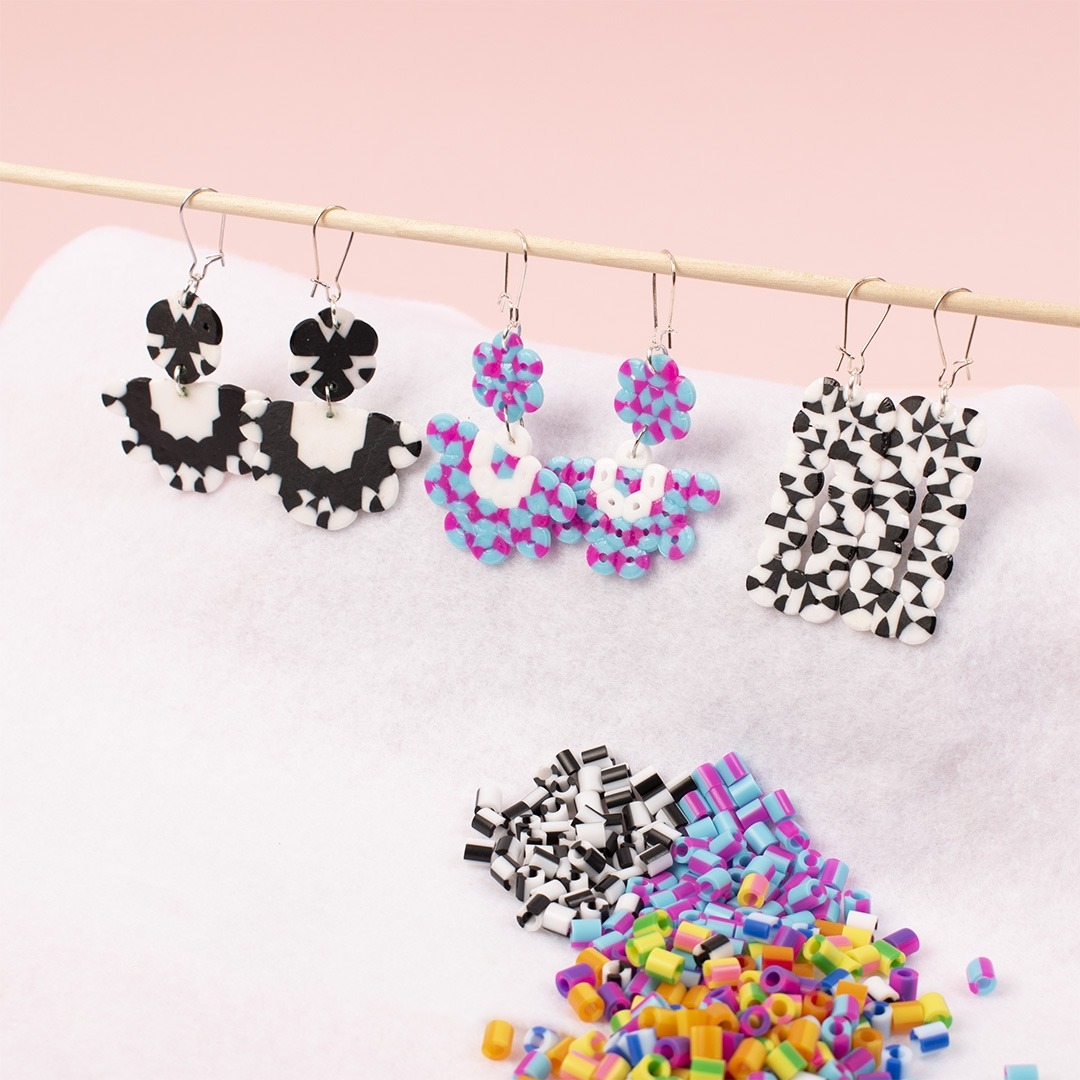
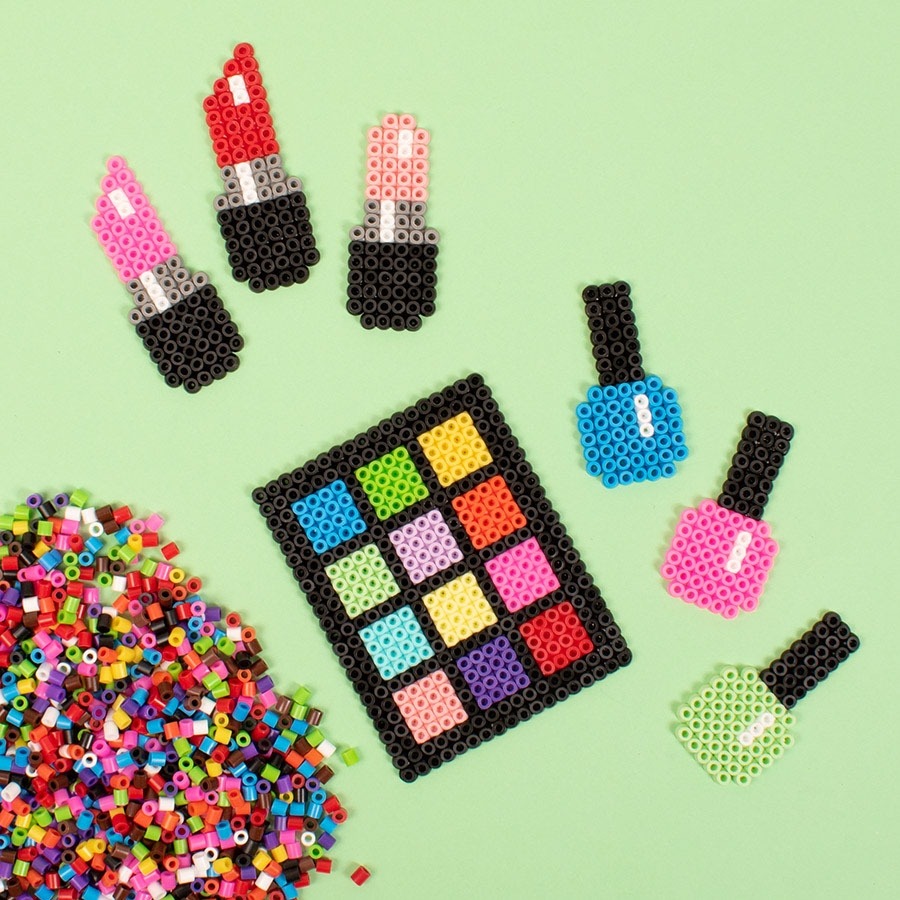
Iron-on beads are small plastic beads used to create patterns on a pegboard, then fixed in place with the heat of an iron. Just a few minutes of ironing through baking paper, and the loose beads turn into a durable design: a keychain, magnet, pendant, or room decoration.
This activity doesn’t require any experience or manual skills. You choose a pattern, place the beads, iron them – and after just a few minutes, you’re holding a finished project in your hands. That quick result is exactly why iron-on beads are so engaging for both children and adults looking for a creative break without a difficult learning curve.
What are iron-on beads?
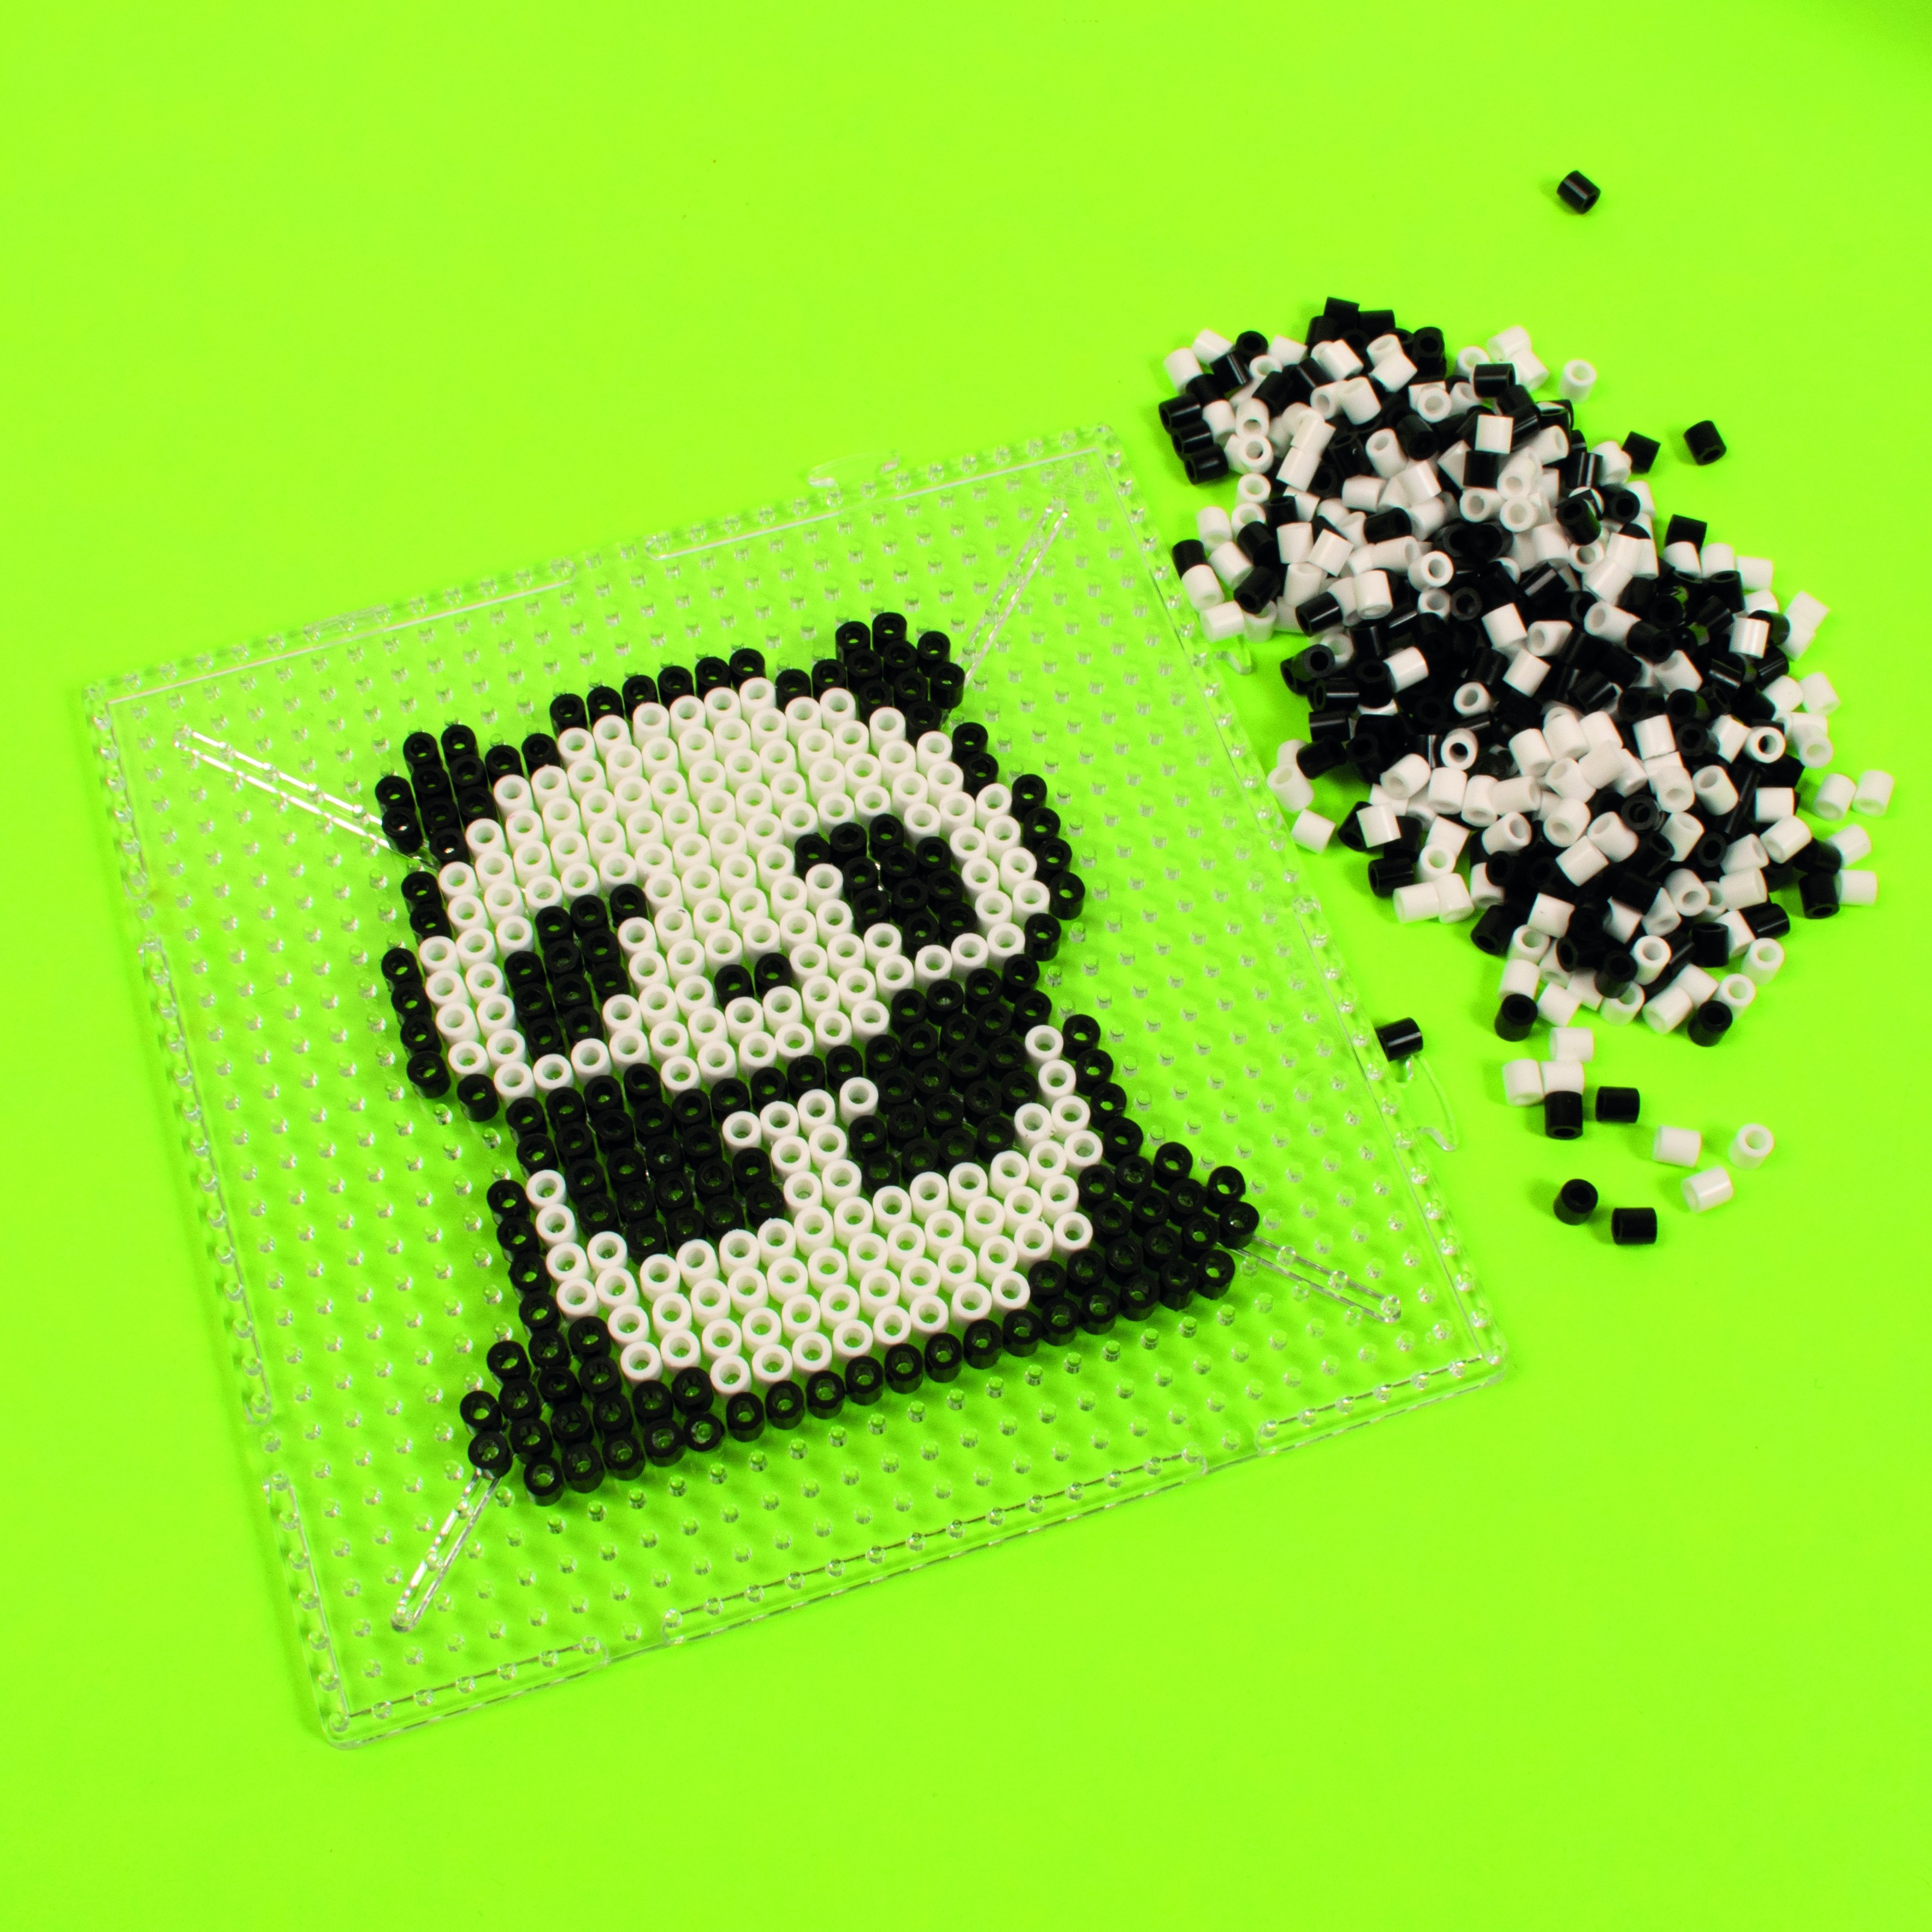
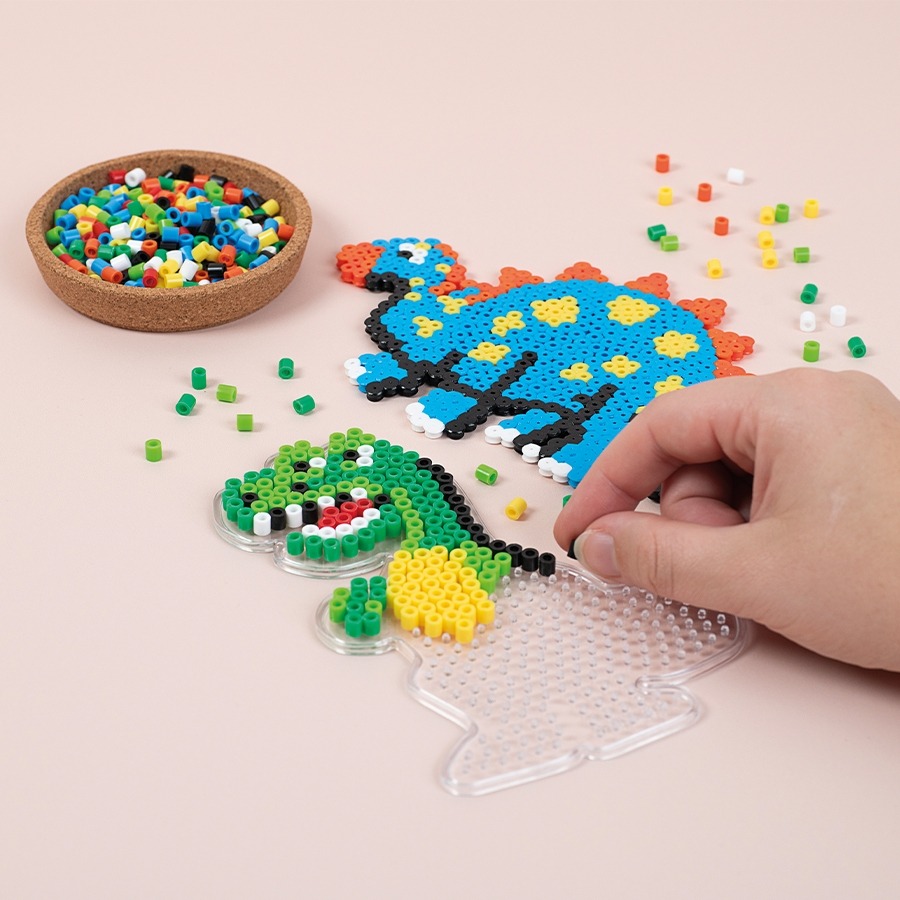
Each bead works like a single pixel. You place them side by side on a pegboard, and when the pattern is ready, you cover it with baking paper and iron it. Under the heat, the beads melt slightly and fuse together into one piece – creating a durable design that can be removed from the board and used in many ways.
What can you make with them? For example:
- keychains and pendants,
- fridge magnets,
- holiday decorations,
- room decorations,
- letters and names,
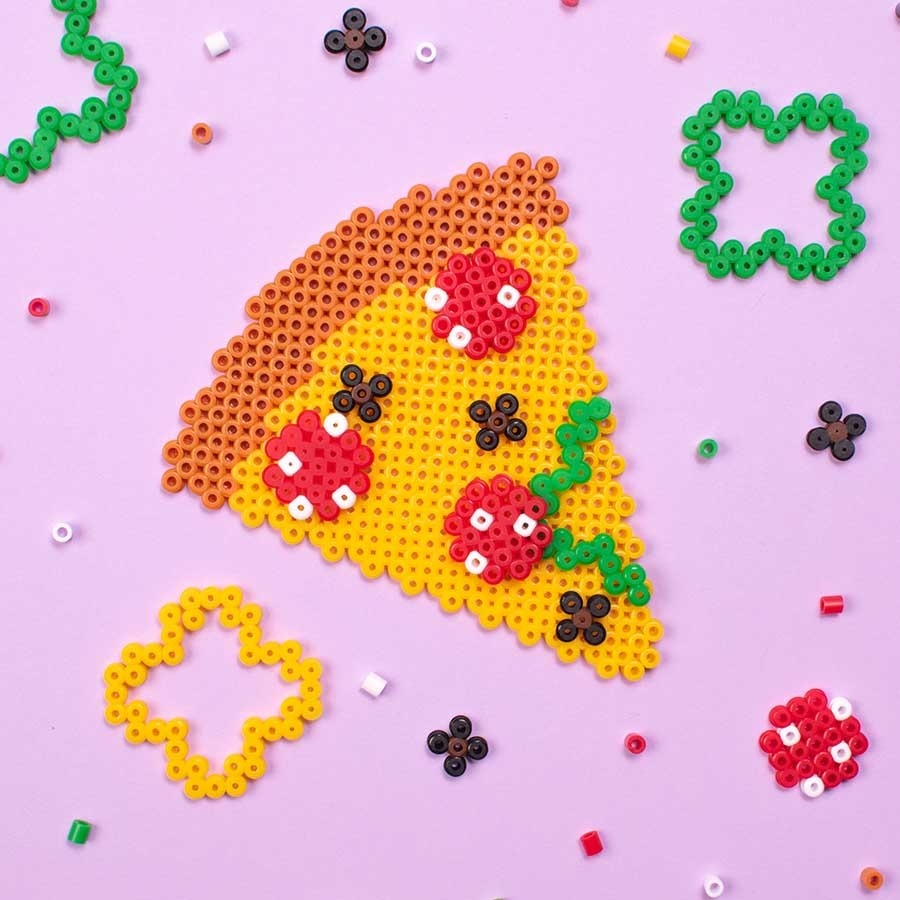
- Minecraft patterns and other pixel art projects,
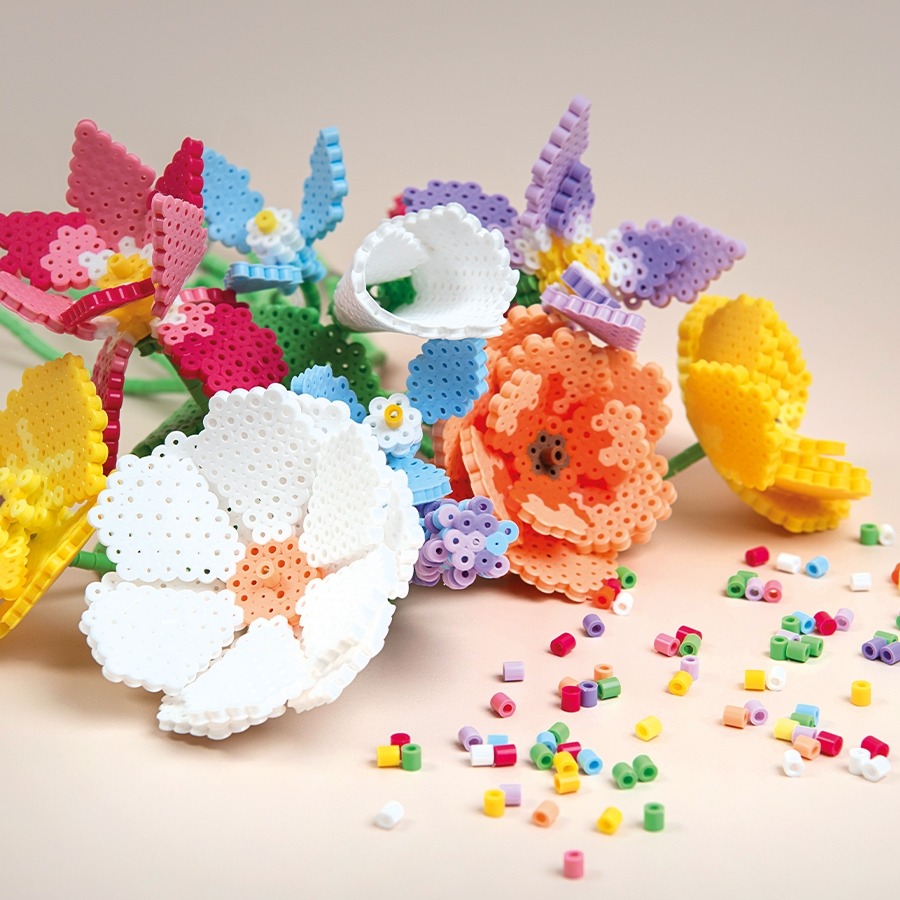
- 3D figures.
First projects come together really quickly – a heart, flower, cat, or rainbow can be done in just a few minutes.
How to use iron-on beads? Step-by-step guide
You need four things: beads, a pegboard, baking paper (or special ironing paper), and an iron.
1. Choose a pattern
For your first try, go for something simple: a heart, flower, watermelon, rainbow, cat, or the first letter of a name. Few colors and a clear shape are the perfect recipe for a successful first project.
2. Place the beads on the pegboard
The pegs on the board keep the beads in place. The most versatile option is a square pegboard – it works for most patterns.
3. Cover the pattern with paper
Never place the iron directly on the beads. Always use baking paper or the ironing paper included in the set.
4. Iron gently
Set the iron to medium heat and turn off the steam. Iron with short, circular movements until the beads begin to fuse together.
5. Wait until the project cools down
Remove the design from the pegboard only after it has cooled – while still warm, it can easily lose its shape.
6. Strengthen the project if needed
For keychains and pendants, it’s worth ironing the back side gently as well. They’ll be sturdier and last longer.
How to iron beads so the design doesn’t fall apart?
The most common problem for beginners: the design falls apart after being removed from the board. In almost every case, that means it was ironed for too short a time or unevenly. A few simple rules fix that:
- always iron through baking paper,
- stick to medium temperature, with no steam,
- don’t press the iron down – its own weight is enough,
- move the iron evenly across the whole design, including the edges,
- let the project cool before removing it from the board.
The beads should fuse together, but they shouldn’t be flattened completely. It’s better to iron for a shorter time and repeat if needed than to overheat the whole design right away.
Will iron-on beads stick together without an iron?
No – heat is needed to fix the design, and an iron is the easiest and safest source. Without ironing, the beads will stay loose. If a child is making the project, they can do the whole pattern placement, but the ironing should always be done by an adult.
Starter patterns – where to begin?
Choose patterns with few colors and a simple shape – a quick result is the best way to avoid frustration. Good starter ideas: a heart, star, flower, rainbow, watermelon, smiley face, cat, dog, butterfly, or the first letter of a name.
For children, the best option is small projects that can be finished in a few minutes. Adults can treat bead art as a calm evening activity – a bit like puzzles, but with a finished decoration at the end.
Ideas – what can you make with iron-on beads?
Keychains
The best first project. A small heart, letter, animal, or fruit plus a keyring loop – and you have a ready-made pendant for keys, a backpack, or a pencil case.
Fridge magnets
You only need to glue the finished design onto a magnet. It’s a simple gift idea from a child for a parent, grandparent, or teacher.
Seasonal decorations
Christmas trees, snowflakes, and baubles in winter, bunnies and Easter eggs for Easter, pumpkins and ghosts for Halloween, hearts for Valentine’s Day. Iron-on beads work all year round.
Letters and names
Initials and names are especially easy to create with beads. They make personalized pendants, keychains, and desk decorations.
Minecraft and pixel art
The square look of Minecraft is perfect for beads – a creeper, sword, pickaxe, diamond, or TNT block looks exactly like it came from the game. The same method works for any pixel art design: fruit, emoji, icons, or game characters.
3D projects
Once you’ve mastered flat patterns, try 3D figures. They’re built from several separately prepared pieces – that’s how boxes, little houses, animals, and standing desk decorations are made. It’s a more advanced level, so it’s best saved for later.
Which iron-on beads should you buy to start with?
The best option is a set that includes everything you need:
- beads in many colors,
- a pegboard,
- ironing paper,
- simple patterns or inspiration,
- a box or organizer to keep things tidy and help you find the right color quickly.
If you’re buying beads for a child, choose a set that allows for several short projects. Children love seeing quick results, so small patterns usually work better than one large picture.
Recommended products


Why is it worth trying iron-on beads?
Because it’s hard to find a hobby that gives you so much with such an easy start. Iron-on beads develop creativity, improve focus and precision, and at the same time require no experience at all. Children get fun out of it, and adults get a relaxing break from screens plus handmade decorations or small gifts.
You can find iron-on bead sets in the wyplatamy.pl store – together with pegboards, paper, and ready inspiration for your first projects. If you’re looking for an idea for a creative afternoon, this is a great place to start.
FAQ – the most common questions about iron-on beads
Photo gallery